Winterizing Your RV
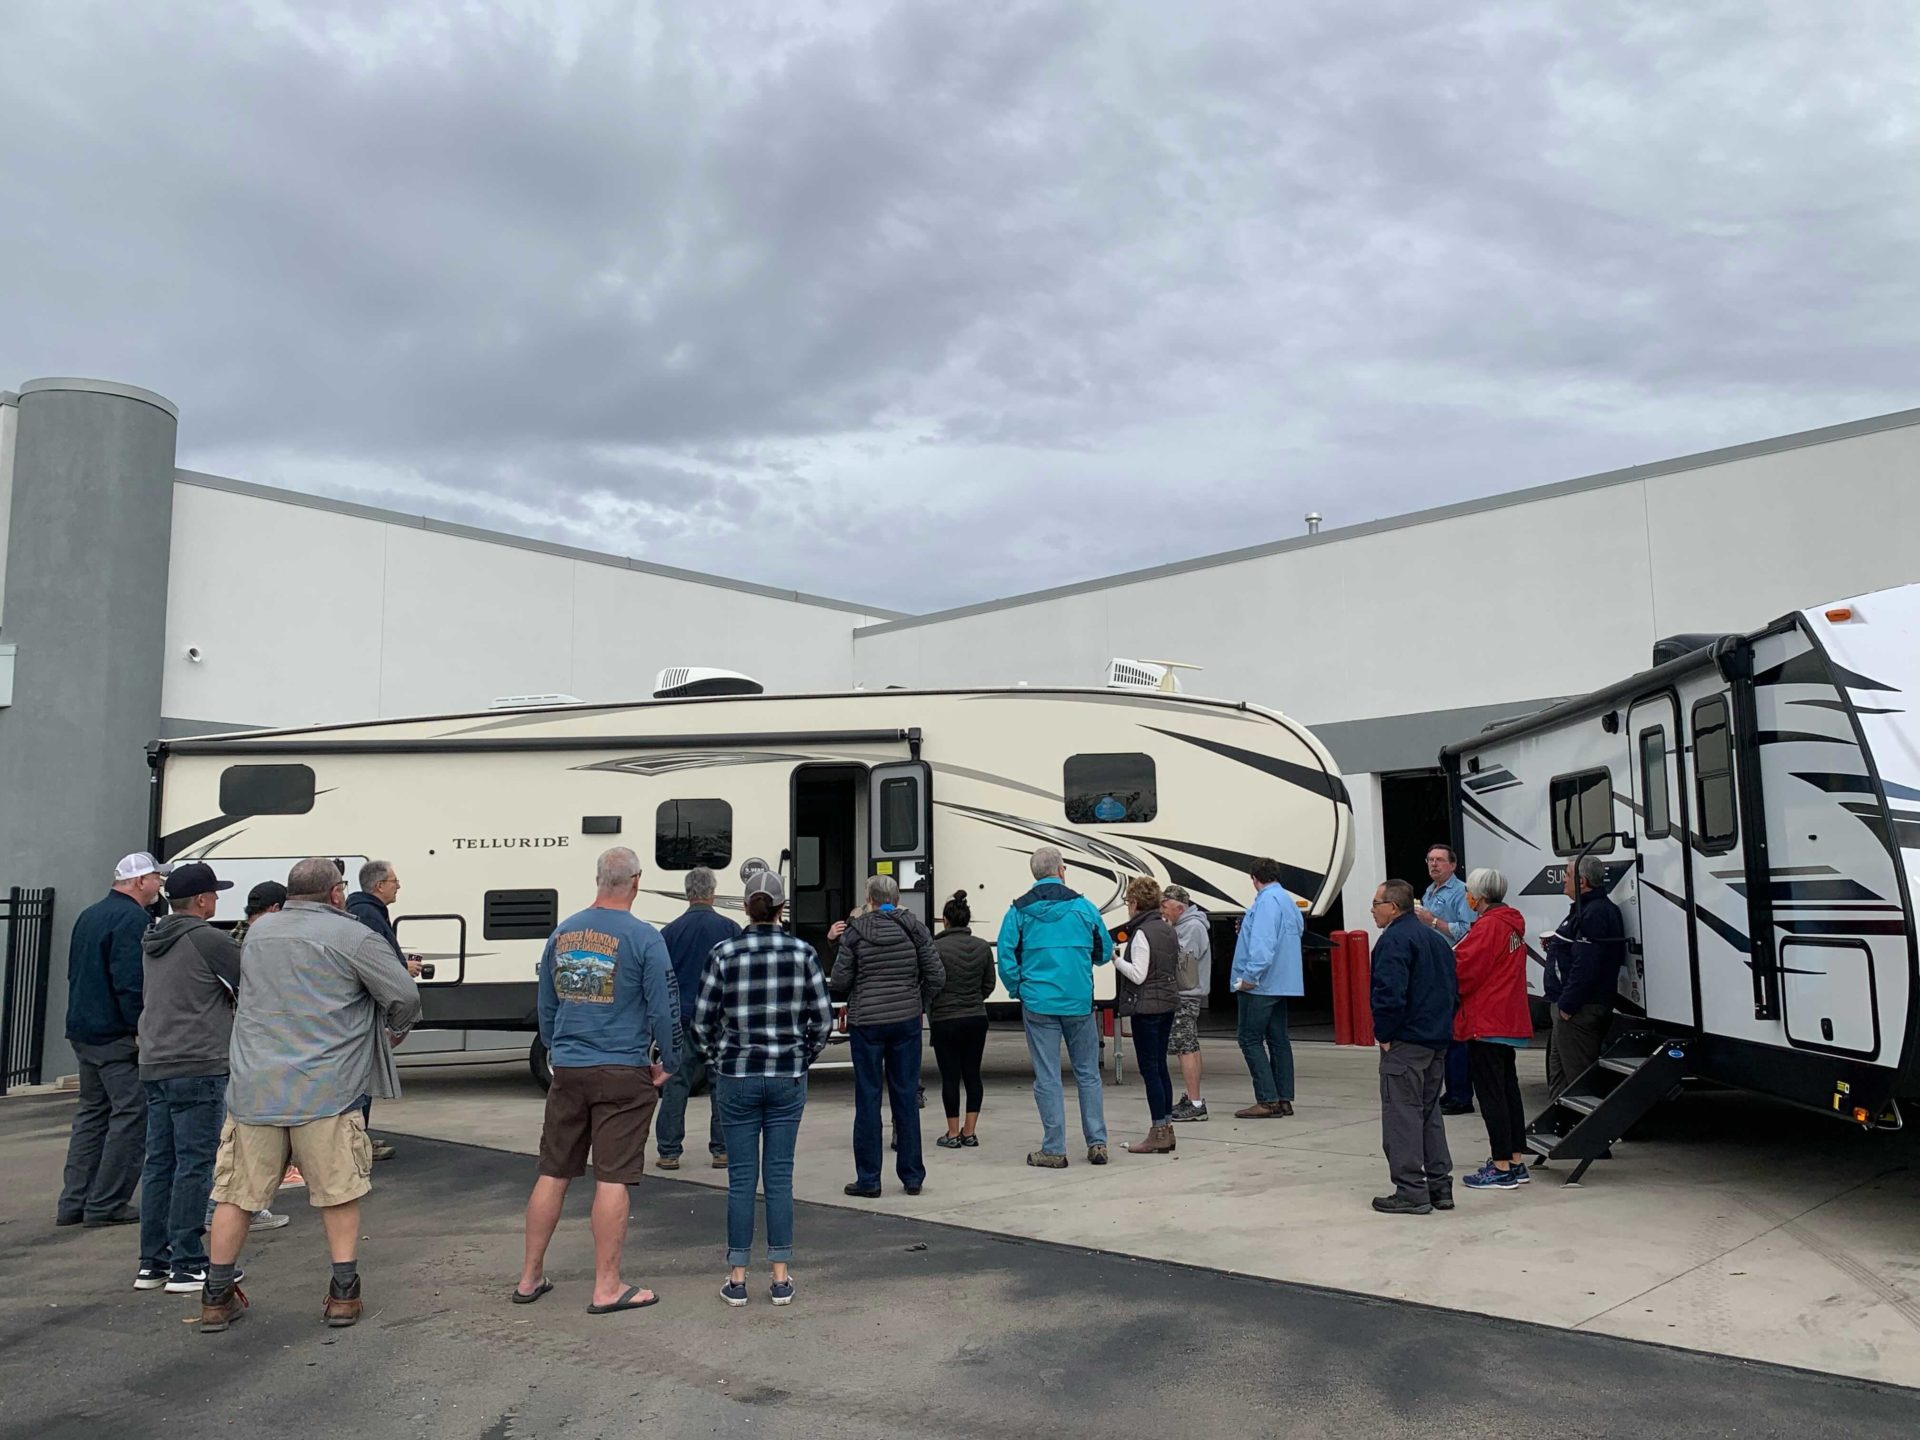
Winterizing your RV before storage will help prevent future repairs, ultimately prolonging its life, saving you money, and keeping it running smoothly for years to come. HWY34 RV hosted a free winterization class last year, here are some key takeaways for anyone who missed it.
First Things First – The Water Heater
Release the pressure, then take the plug out. If water spurts out, be aware – this can be very hot and potentially burn you. Close the pressure release again. The water should gurgle as it picks up residue from the bottom of the tank while draining.
Your Fresh Tank is Next
Next, drain your fresh tank. Make sure to hit every faucet, including your outdoor shower. After this, your last drain is grey/black and this is only at a dumping station. There are extra drains to consider, depending on your model – fifth wheels have a docking station.
Go Inside
After the exterior is done, head inside your RV and drain everything. Your sinks, shower, even your ice maker, then change the valves. When water freezes, it expands and the risk of tanks and hoses cracking is high, even with smaller appliances.
Water heaters are all different, so check with a professional if you’re unsure what to do. A general rule of thumb is to check if your valve is a one-way valve before draining. In our example, the water heater had two valves.
The Water Pump
Your water pump is next. In our RV, this was under the sink. Stick the winterizing tube into a gallon of antifreeze (RV antifreeze is pink – make sure you have the correct type) then turn the valves. Be sure to shut off the proper valves to avoid antifreeze in your tanks, as that would mix with your drinking water later on. After all your valves are set correctly, tanks are drained, and the antifreeze is set up, turn on the pumps. Pay attention, because if the antifreeze drains very quickly, it may have gone into your tanks.
Next, turn on the cold water. Once you see the pink antifreeze come out, you can stop. Then, turn on the hot water and let the antifreeze run until clear water comes out, then pink will come out again. Hot water takes longer, so turn it off after you see the second round of pink antifreeze.
Make sure not to go over 55psi, or the faucets can break. It’s also a good idea to put some antifreeze in your p-trap. When you’re done, wipe up all the antifreeze because it may stain.
The Bathroom
Drain everything in the bathroom, including the toilet, if you haven’t already. Make sure the black/grey tanks for the toilet are shut. For city water, make sure you’ve released all the pressure before doing this one – it can bust your valve if forgotten).
Final Quick Steps
- Check the lowest point of the waterline.
- Dump the canister after the last draining and put it back on. It’s not about putting antifreeze in, it’s about using the antifreeze to push the water out.
- Shut all drains and valves and plugs when done – to avoid bugs getting in and to avoid forgetting them when winter is over.
- Pro Tip: Put dryer sheets along your floor to repel bugs and mice and place mothballs in or near the tires to prevent mice from crawling up.
Batteries
To keep your batteries in good shape while in storage, put them in your garage with a trickle charge. Don’t disconnect your battery (even lithium batteries) because they need to be kept on that charge. Also, remember that a bulging battery is bad and should be replaced. Keep the battery warm or at room temperature and place it on a wood surface, not concrete.
De-Winterizing Your RV
De-winterizing is essentially all of the winterizing steps done in reverse. You can use city water or the fresh tank for this, but we recommend the fresh tank because it will make sure your pump is clean. Walk around and check that all your valves and your grey/black tanks are shut and leave the water heater bypassed. Turn your faucet on and let it run until it’s as clear as you want (it may be a bit foamy – this is normal). After running all the faucets, go to your water heater and turn the valves. Make sure your plugs are in.
Winterization Assistance
If there are any problems or you aren’t comfortable winterizing the RV yourself, contact our specialists at HWY34 RV. We offer winterization and de-winterization services and will walk you through the steps as we do them, so you have the knowledge you need to care for your RV in the future.
Explore More Podcast
Episode 1. RV Winterization Mistakes to Avoid
In our first ever Podcast episode, we talk about the top mistakes made when winterizing an RV, listen to it here:


